
How to Upcycle Old Furniture into Stylish Home Decor (Beginner-Friendly)
356 views
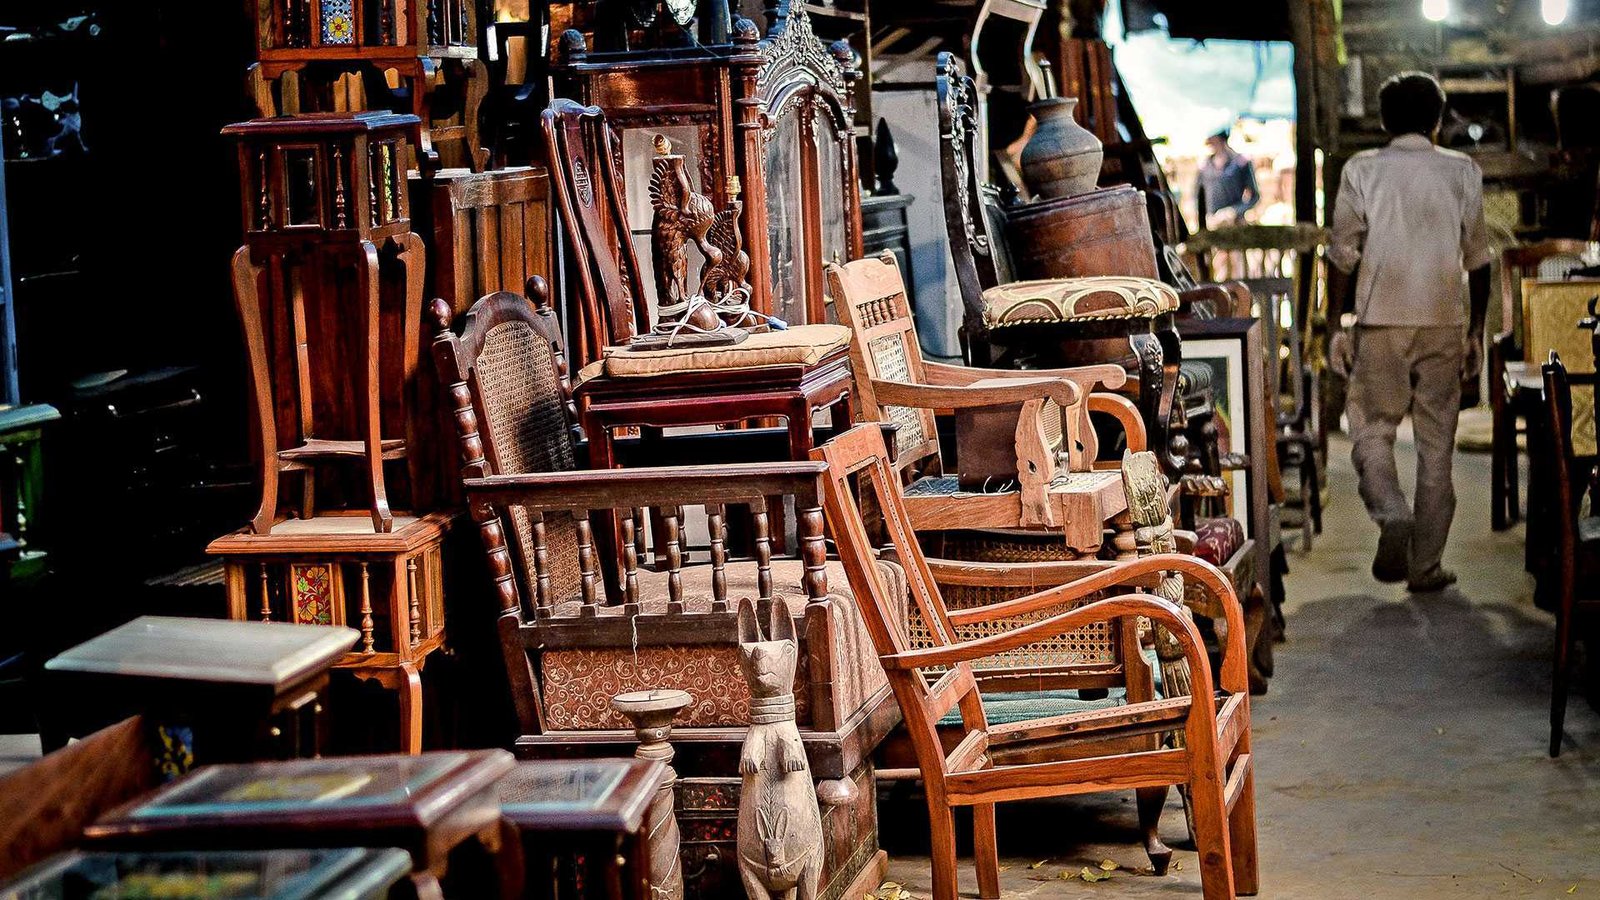
That scratched side table in the corner probably isn't useless. Neither is the tired wooden chair with the ugly finish, the small dresser you inherited, or the cabinet that's been sitting in a garage for years.
The problem is usually not the furniture itself. It's the finish.
A coat of paint can help, but simply painting every old piece white isn't much of a design strategy. The better approach is to look at the shape, material, proportions, and location first, then decide what the piece actually needs. A dated bedside table might become a compact nightstand with a modern color and new hardware. An old drawer can become a wall shelf. Even a battered chair can work as an accent piece if you stop trying to make it look brand-new.
That approach fits the direction of current interiors, too. Designers are increasingly favoring rooms with vintage pieces, visible character, mixed materials, and more personal details instead of perfectly matched furniture sets.
And there's another advantage: you're keeping a usable object in service rather than automatically replacing it. The U.S. Environmental Protection Agency specifically recommends reuse and repair—including repairing furniture—as ways to reduce waste and conserve resources.
Start with the furniture, not the paint
Before buying anything, turn the piece upside down.
Look underneath the table. Open every drawer. Wiggle the legs. Check the back panel and inspect the joints. You're trying to determine whether you're looking at solid furniture that needs cosmetic work or something structurally worn out.
A useful beginner test is simple:
Solid and stable: worth investing time in.
Loose but repairable: usually a good project.
Water-damaged, badly warped, or crumbling: think twice.
Strongly musty or contaminated: don't bring it into a living area until you've figured out the cause.
Don't be fooled by ugly furniture. Ugly finishes are often easier to fix than poor construction.
A scratched oak tabletop with sturdy joints can be a much better candidate than a fashionable-looking flat-pack cabinet that's already swelling around its fasteners.
Pick a transformation that suits the room
The easiest way to make an upcycled piece look intentional is to give it a job.
An old dresser doesn't have to remain a dresser. Depending on its size, it could become a hallway console, bathroom storage unit, or media cabinet. A narrow wooden ladder can become a blanket rack. A small drawer can become a floating shelf or a decorative tray.
Think about the room's existing visual language.
If your living room already has warm wood, brass, and textured fabrics, stripping an old table to reveal its grain may make more sense than covering it in a bright color. In a room dominated by neutral furniture, though, a painted accent piece can add personality without requiring an entire redesign.
The goal isn't to make old furniture look new. It's to make it look like it belongs.
Give old wood a proper cleaning first
This step gets skipped constantly.
Before sanding, painting, or staining, remove dust, grease, wax, and grime. Years of furniture polish can leave a surprisingly stubborn film on wood, and paint applied over contamination may eventually peel.
Use a suitable furniture cleaner or mild soap solution appropriate for the material, then let the piece dry thoroughly.
Don't soak veneered furniture. Water can work its way into edges and seams, causing veneer to lift or particleboard to swell.
Once dry, inspect it again. You may discover that some of the "damage" was simply dirt.
That's a pleasant surprise.
Sand less than you think
Beginners often attack furniture with coarse sandpaper until every trace of the original finish disappears. That's rarely necessary.
If you're repainting, you generally need a clean, suitably prepared surface rather than completely bare wood. Start with a moderate abrasive and work progressively if the surface needs more attention. For a small project, a sanding block can give you better control than immediately reaching for a power sander.
If you're trying to preserve the existing wood, be especially careful with veneer. Veneer is a thin layer of real wood, and aggressive sanding can cut through it before you realize what's happening.
A palm sander can save time on broad solid-wood surfaces, but it isn't automatically better. Corners, rounded edges, decorative trim, and thin veneer are easier to damage with a power tool.
Don't skip primer when the surface needs it
Primer isn't glamorous. It is, however, one of the easiest ways to prevent a frustrating paint job.
Use a primer suited to the existing surface and your chosen topcoat. Glossy finishes, stained wood, previously painted surfaces, and materials such as laminate can require more preparation than unfinished timber.
A common beginner mistake is putting on one thick coat of paint to hide everything underneath.
Two or more thin coats usually give you much better control.
Let each coat dry according to the product's instructions rather than relying solely on how the surface feels. Paint can feel dry while remaining soft underneath, especially in humid conditions.
Try one of these beginner-friendly transformations
You don't need a workshop full of machinery. Some of the best projects are surprisingly simple.
1. Turn an old side table into a modern accent table
Clean the table, tighten the joints, lightly sand the surfaces, and decide whether you want visible wood or a painted finish.
For a contemporary look, keep the top in natural wood and paint the base. Replace dated knobs or hardware if the table has a drawer.
This works particularly well beside a sofa, reading chair, or bed because the piece gets a clear visual role without dominating the room.
2. Convert a drawer into wall decor
An unused wooden drawer can become a shallow display shelf.
Remove the hardware, repair any damaged corners, paint or refinish the drawer, and mount it securely using hardware appropriate for the wall and expected load.
The inside can hold small books, framed photographs, candles, plants, or collected objects.
The original drawer pull can even become part of the design instead of being discarded.
3. Refresh an old chair with fabric
A structurally sound chair with ugly upholstery is often worth saving.
Remove the seat carefully, use the old fabric as a rough template, and replace it with a durable upholstery fabric that works with the room. A staple gun is usually enough for a straightforward seat cushion.
Don't pull the fabric randomly. Work from opposite sides, keeping tension consistent, then deal with the corners last.
The first corner will probably look terrible.
The second one will look better.
By the fourth, you'll understand why upholstery is mostly patience.
4. Make a tired dresser feel custom
New hardware can completely change the character of a dresser.
Measure the existing hole spacing before ordering replacement pulls. This tiny detail saves an annoying trip back to the hardware store and prevents you from discovering that your beautiful new handles don't match the existing holes.
For a more substantial transformation, combine new hardware with a contrasting paint color or a refinished top.
Mix finishes instead of matching everything
An upcycled piece doesn't have to coordinate perfectly with every other item in the room.
In fact, matching too closely can make a room feel like it came from a showroom package.
Try combining:
Warm natural wood with matte painted surfaces
Aged brass with darker furniture
Linen upholstery with rougher timber
Vintage hardware with a cleaner contemporary silhouette
One strong accent color against quieter surrounding pieces
Current interior trends are moving toward warmer, more individual spaces, with vintage furniture and collected pieces gaining attention as alternatives to overly uniform interiors.
The trick is repetition. If you use brass hardware on one refurbished piece, echo a small amount of brass somewhere else. If you introduce olive green furniture, repeat that color through a cushion, artwork, or plant pot.
That creates connection without making everything identical.
Know when an old finish needs special care
There is one part of furniture upcycling beginners shouldn't treat casually: old paint.
Furniture from older homes or unknown sources can have coatings containing lead. In the United States, lead-based paint was banned for consumer use in 1978, and disturbing old painted surfaces through sanding, scraping, or cutting can create hazardous dust.
If you're dealing with an older painted piece and don't know its history, don't automatically start dry-sanding it indoors.
EPA guidance for DIY renovation recommends practices such as minimizing dust, containing the work area, using wet methods where appropriate, and using a HEPA-equipped vacuum for cleanup when lead contamination may be involved.
For furniture, that means thinking before sanding rather than treating every old finish as an ordinary surface. If testing identifies lead or you're dealing with an especially old or deteriorated finish, professional advice may be the sensible choice.
The same caution applies to heavily peeling paint, unknown chemical coatings, and furniture with significant mold or water damage.
A simple project budget
You can keep a beginner project surprisingly inexpensive if the furniture itself is free or inexpensive.
A typical small transformation might involve:
Item | Typical role |
|---|---|
Sandpaper or sanding sponge | Surface preparation |
Cleaner/degreaser | Removing grime and residue |
Primer | Improving paint adhesion |
Furniture paint | New color |
Brush or small roller | Application |
New hardware | Visual upgrade |
Clear protective finish | Added durability |
Don't automatically buy every product listed above.
If you're restoring a good wooden surface rather than painting it, you may need a completely different combination of products. The cheapest project is often the one where you buy only what the furniture actually requires.
The finishing mistake that ruins good projects
People often stop too early.
The furniture looks finished, so it gets moved straight into the room. Then a week later there are fingerprints, scratches, or a sticky drawer.
Give finishes enough curing time.
Drying and curing aren't necessarily the same thing. A coating can feel dry to the touch while still becoming harder and more durable over the following days.
Also test drawers, doors, and moving parts before putting the furniture back into daily use. Paint buildup around drawer edges can make a previously smooth drawer surprisingly difficult to operate.
If something rubs, don't force it. Find the contact point and correct it.
Five questions beginners usually ask
Is upcycling furniture cheaper than buying new?
It can be, particularly when you start with free or inexpensive solid furniture. Costs rise quickly if you need extensive repairs, specialist finishes, replacement hardware, or professional upholstery, so calculate the materials before committing.
What furniture is easiest for a beginner?
Small tables, simple stools, basic chairs, and uncomplicated wooden drawers are excellent starting points. They have fewer surfaces and less complicated hardware than large cabinets or elaborate antique furniture.
Do I have to remove all old paint before repainting?
Not necessarily. The required preparation depends on the existing coating, its condition, and the new finish. If the old paint is stable, proper cleaning, light preparation, and a compatible primer may be sufficient. If the coating is deteriorating or potentially lead-based, take additional precautions rather than aggressively sanding it.
Can laminate furniture be upcycled?
Yes, but laminate requires careful surface preparation and a coating system designed to adhere to a slick surface. Cleaning and preparation matter much more than simply applying ordinary wall paint.
How can I make upcycled furniture look expensive?
Keep the design restrained. Repair obvious defects, use clean lines, choose quality-looking hardware, apply thin even coats, and pay attention to the edges. A simple transformation executed neatly usually looks better than five decorative techniques competing for attention.
Give one forgotten piece a second chance
You don't need to renovate an entire room.
Find one piece of furniture that is structurally sound but visually tired. Clean it. Study its shape. Decide what you want it to contribute to the room before you buy a single tin of paint.
Then make the smallest change that creates the biggest difference.
Maybe that's new hardware. Maybe it's revealing the wood. Maybe the right color does the job. Sometimes the best transformation is surprisingly subtle.
And if the first attempt isn't perfect? That's part of learning. Furniture gives you something useful that mass-produced decor can't: a chance to improve your eye, your technique, and your home at the same time.
furniture upcycling
DIY home decor
room decor ideas
beginner furniture makeover
budget home styling
Found this helpful? Share it!