
Quick DIY Home Decor Projects to Try
384 views
A room can feel strangely unfinished even when the furniture is perfectly fine. The sofa works. The bed is comfortable. The shelves are useful. Yet something still looks… flat.
You don't necessarily need new furniture to fix it.
A few small changes—paint, fabric, removable wallpaper, an old frame, a piece of plywood—can shift the entire mood of a room without turning your weekend into a construction project. The best quick DIY home decor projects are the ones that look intentional rather than homemade in the bad sense.
That means choosing projects with a visible payoff, keeping the materials simple, and knowing where shortcuts are helpful and where they create more work later.
Here are several worth trying.
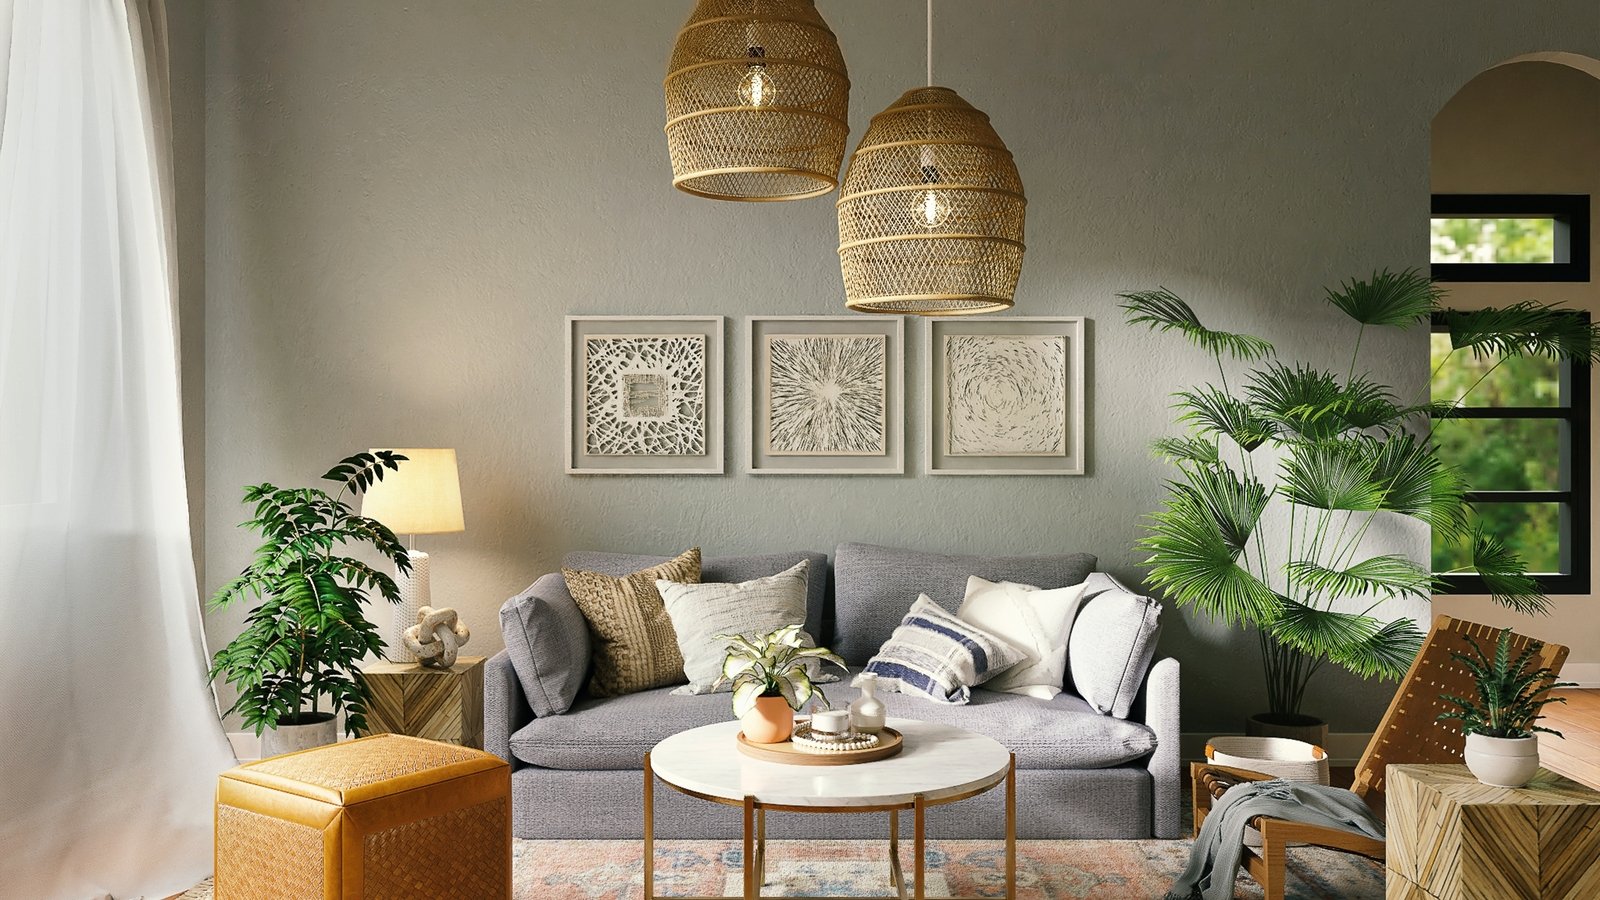
1. Turn an Empty Wall Into a Mini Gallery
Blank walls are easy to ignore because they're not technically a problem. But a large empty wall can make an otherwise furnished room feel sparse.
You don't need expensive artwork. Mix photographs, printable illustrations, postcards, children's drawings, botanical prints, or even pages from an old book.
The trick is consistency.
Pick one element to repeat—black frames, natural wood, a shared color, or similar-sized artwork. Then vary the shapes around it. IKEA recommends mixing frame styles and using ledges or surrounding furniture to make a gallery wall feel more integrated with the room rather than simply attaching pictures to an empty surface.
Before making holes, arrange everything on the floor.
Take a photo.
Then use that image as your reference while hanging the pieces.
This tiny step saves an annoying amount of repositioning.
For renters, lightweight prints can also be displayed with removable hanging products or washi tape where the artwork is light enough. IKEA specifically demonstrates using washi tape for repositionable DIY artwork.
2. Give a Small Piece of Furniture a Peel-and-Stick Makeover
That tired bedside table doesn't necessarily need to go.
Peel-and-stick wallpaper or decorative contact paper can change drawer fronts, cabinet interiors, shelves, table surfaces, and other smooth areas surprisingly quickly. Current products are available specifically for furniture and small decorating projects, with some designed to be repositionable and removable.
Measure first.
Seriously.
A common DIY mistake is buying one roll based on how large the furniture looks, then discovering that the usable dimensions don't match the pattern.
For example, some current peel-and-stick wallpaper rolls measure about 20.5 inches wide by 16.5 feet long and cover roughly 28 square feet. Others come in smaller sheets intended for furniture and craft projects.
Clean the surface thoroughly before applying anything. Dust, grease, textured finishes, and recently painted surfaces can interfere with adhesion.
Start with a small drawer or shelf rather than an entire cabinet.
You'll learn how the material behaves before committing to the larger surface.
3. Make Oversized Abstract Art With Paint
You don't have to be able to draw.
That's the beauty of abstract art.
Buy an inexpensive canvas—or use a primed board—and choose two or three colors already present in the room. Paint broad shapes, imperfect arches, lines, blocks, or overlapping circles.
Don't keep correcting it.
That usually makes DIY art look more forced.
Instead, step back every few minutes and look at it from across the room. A mark that seems too large from 12 inches away may look completely balanced when it's hanging above a sofa.
IKEA also suggests creating simple abstract artwork from a color you like and experimenting with shapes, rather than treating DIY wall art as a test of artistic skill.
For a particularly inexpensive version, paint directly onto a piece of leftover plywood, then mount it in a simple frame.
4. Build a Tiny Entryway Organizer
Keys, sunglasses, bags, mail.
They seem harmless individually. Together, they create the classic entryway pile.
A small wall organizer can solve the problem while becoming part of the decor.
One practical approach is a painted plywood board fitted with decorative knobs. IKEA has demonstrated a similar DIY storage-wall concept using plywood, paint, drilled holes, and kitchen knobs.
You can make yours much smaller.
Cut a board to roughly 18–24 inches wide, sand the edges, paint it, and attach three or four knobs. Add a narrow shelf above it if you want somewhere for mail.
Use sturdy wall anchors appropriate for your wall material if the organizer will carry bags or heavier objects. Don't rely on a decorative solution's appearance to determine how much weight it can safely support.
A pretty hook that pulls out of drywall isn't particularly useful.
5. Upgrade a Lampshade With Fabric
Here's a project that can completely change the atmosphere of a bedroom or reading corner.
Take a plain lampshade and cover its exterior with lightweight fabric.
Measure the shade first. Cut the fabric slightly larger than necessary, keeping enough material to wrap neatly around the top and bottom edges. Use an adhesive intended for the materials involved, and keep the fabric away from the bulb and heat-producing components.
This is one project where patience matters more than skill.
Smooth the fabric gradually rather than trying to press the entire piece down at once. Wrinkles that look tiny on the table become very obvious once the lamp is switched on.
For safety, never cover ventilation openings or allow fabric to contact a hot bulb.
LED bulbs are particularly useful for decorative lamps because many produce substantially less heat than traditional incandescent bulbs, but the lamp's own specifications still matter.
6. Create a Removable Accent Wall
You don't need to wallpaper an entire room.
A narrow section behind a desk, the wall beside a bed, or the back of an open bookcase can provide enough pattern to change the space.
Peel-and-stick wallpaper is particularly suited to this kind of small experiment. Current products are available in removable formats, including rolls designed for smooth, clean surfaces and renter-friendly applications.
But there's a catch.
Not every wall is suitable.
Some products specifically require smooth, flat, clean, dry surfaces and warn against textured walls.
Test a small inconspicuous section first, especially if you're renting.
For patterned wallpaper, don't rush the first panel. If that panel is crooked, every subsequent panel inherits the mistake.
A level and a sharp utility knife are worth having nearby.
7. Turn a Mirror Into a Statement Piece
A basic frameless mirror can look much more expensive with a simple DIY frame.
One easy approach uses thin wood strips cut to the mirror's dimensions. Sand them, stain or paint them, and assemble the frame around the mirror.
If you're working with a large mirror, don't treat the frame as purely decorative. The finished piece can become surprisingly heavy, so use appropriate mounting hardware and secure it according to the wall construction.
For a smaller mirror, you can go in the opposite direction: paint a bold border directly around the surrounding surface or add a decorative trim treatment.
The goal isn't complexity.
It's visual weight.
A simple frame can make an inexpensive mirror look like a deliberate architectural element.
8. Make a Decorative Tray From Scrap Wood
This might be the quickest project on the list.
Find a rectangular piece of wood. Sand it smooth. Add two cabinet handles or drawer pulls. Finish it with paint, stain, or a clear protective coating.
Done.
Use it on a coffee table for candles and books, on a dresser for perfume bottles, or in the kitchen for frequently used items.
The practical advantage is that a tray creates a visual boundary. Instead of several unrelated objects scattered across a surface, they suddenly read as one arrangement.
Try grouping objects in different heights: something low, something medium, and one taller piece.
That's usually enough.
9. Refresh Shelves Without Rebuilding Them
Sometimes the shelf isn't the problem.
What's sitting on it is.
Remove everything and start again. Keep a few books, add one plant, introduce a framed photograph, and leave some empty space between objects.
For shelves with plain backing, a small section of peel-and-stick wallpaper can create contrast without covering the entire wall. This is also one of the uses manufacturers and retailers recommend for removable decorative films.
Try not to fill every available inch.
Empty space is part of the composition.
If everything is displayed, nothing gets emphasis.
10. Make a Simple Plant Display
Plants instantly give you another decorating material: living texture.
Instead of putting every plant on the same windowsill, create different heights. A small stool can hold a larger pot, a wall shelf can carry trailing greenery, and a tabletop can hold a compact plant.
IKEA's wall-decor guidance similarly recommends using shelves to display plants and combining greenery with practical wall storage.
Just pay attention to water.
Use saucers or waterproof trays beneath containers, particularly on wood furniture and painted shelves. A beautiful plant arrangement isn't worth a swollen tabletop.
A Better Way to Choose Your First Project
Don't start with the biggest room.
Start with the thing that annoys you every day.
A blank wall above your desk? Make art.
A boring cabinet? Try removable film.
A messy entrance? Build a small organizer.
A lifeless shelf? Restyle it.
This approach works because you're solving a real visual or functional problem rather than creating decoration simply because a DIY tutorial told you to.
And keep a small supply kit around: measuring tape, pencil, level, scissors, sharp utility knife, sandpaper, painter's tape, adhesive suitable for the material, and a basic drill.
Those tools cover an enormous number of small home projects.
Quick DIY Projects at a Glance
Project | Typical Time | Best For |
|---|---|---|
Mini gallery wall | 1–2 hours | Empty walls |
Peel-and-stick furniture update | 1–3 hours | Cabinets and drawers |
Abstract painted art | 1–2 hours | Bedrooms and living rooms |
Small entryway organizer | 2–4 hours | Storage + decor |
Fabric lampshade | 1–2 hours | Lighting updates |
Removable accent wall | 2–4 hours | Renters and small spaces |
DIY mirror frame | 2–4 hours | Bedrooms and hallways |
Wooden decorative tray | 1–2 hours | Coffee tables and dressers |
Shelf refresh | 30–60 minutes | Existing storage |
Plant display | 30–90 minutes | Empty corners |
DIY Home Decor FAQs
What is the easiest DIY home decor project for beginners?
Start with painted artwork, shelf styling, or a small decorative tray. They require relatively few materials and don't commit you to permanent changes.
Are peel-and-stick wallpapers actually renter-friendly?
Some are specifically designed to be removable, but the claim depends on the product and surface. Smooth, clean, dry walls are generally the intended application surface for many removable products, while textured or unsuitable finishes can cause problems. Always check the manufacturer's instructions and test a small area first.
How can I make DIY decor look expensive?
Limit the number of colors, repeat materials already used in the room, and pay attention to alignment. Clean edges matter more than complicated designs. A simple project executed neatly will usually look better than an ambitious project covered in visible mistakes.
What DIY project can improve a small room without making it feel crowded?
Try an accent wall, a strategically placed mirror, or vertical storage. Wall-mounted solutions can add visual interest without consuming much floor space. Pegboards and adjustable wall storage can combine organization with decoration.
How do I avoid wasting materials?
Measure the actual surface before shopping, check the product's coverage specification, and account for pattern matching or cutting waste. Buy enough material from the same batch when possible, particularly for wallpaper and other patterned finishes.
Start Small, Then Let the Room Tell You What's Missing
The fastest home transformations rarely begin with a shopping cart full of new furniture.
They begin with one overlooked corner.
Paint that empty canvas. Rework the shelf. Cover the tired drawer front. Build the little organizer you've been wishing existed.
Give yourself one afternoon.
If the result works, move to the next small problem. That's how a collection of inexpensive DIY changes can gradually make a room feel far more considered—without making the whole house look like it was renovated in a single weekend.
DIY room decor
home decor projects
quick room makeover
budget room decor
room decorating ideas
Found this helpful? Share it!